Version History & Timelines
CutReady includes a full version history system backed by Draftline. Every save creates a snapshot that you can browse, compare, and restore — and you can branch your work into multiple timelines to experiment freely.
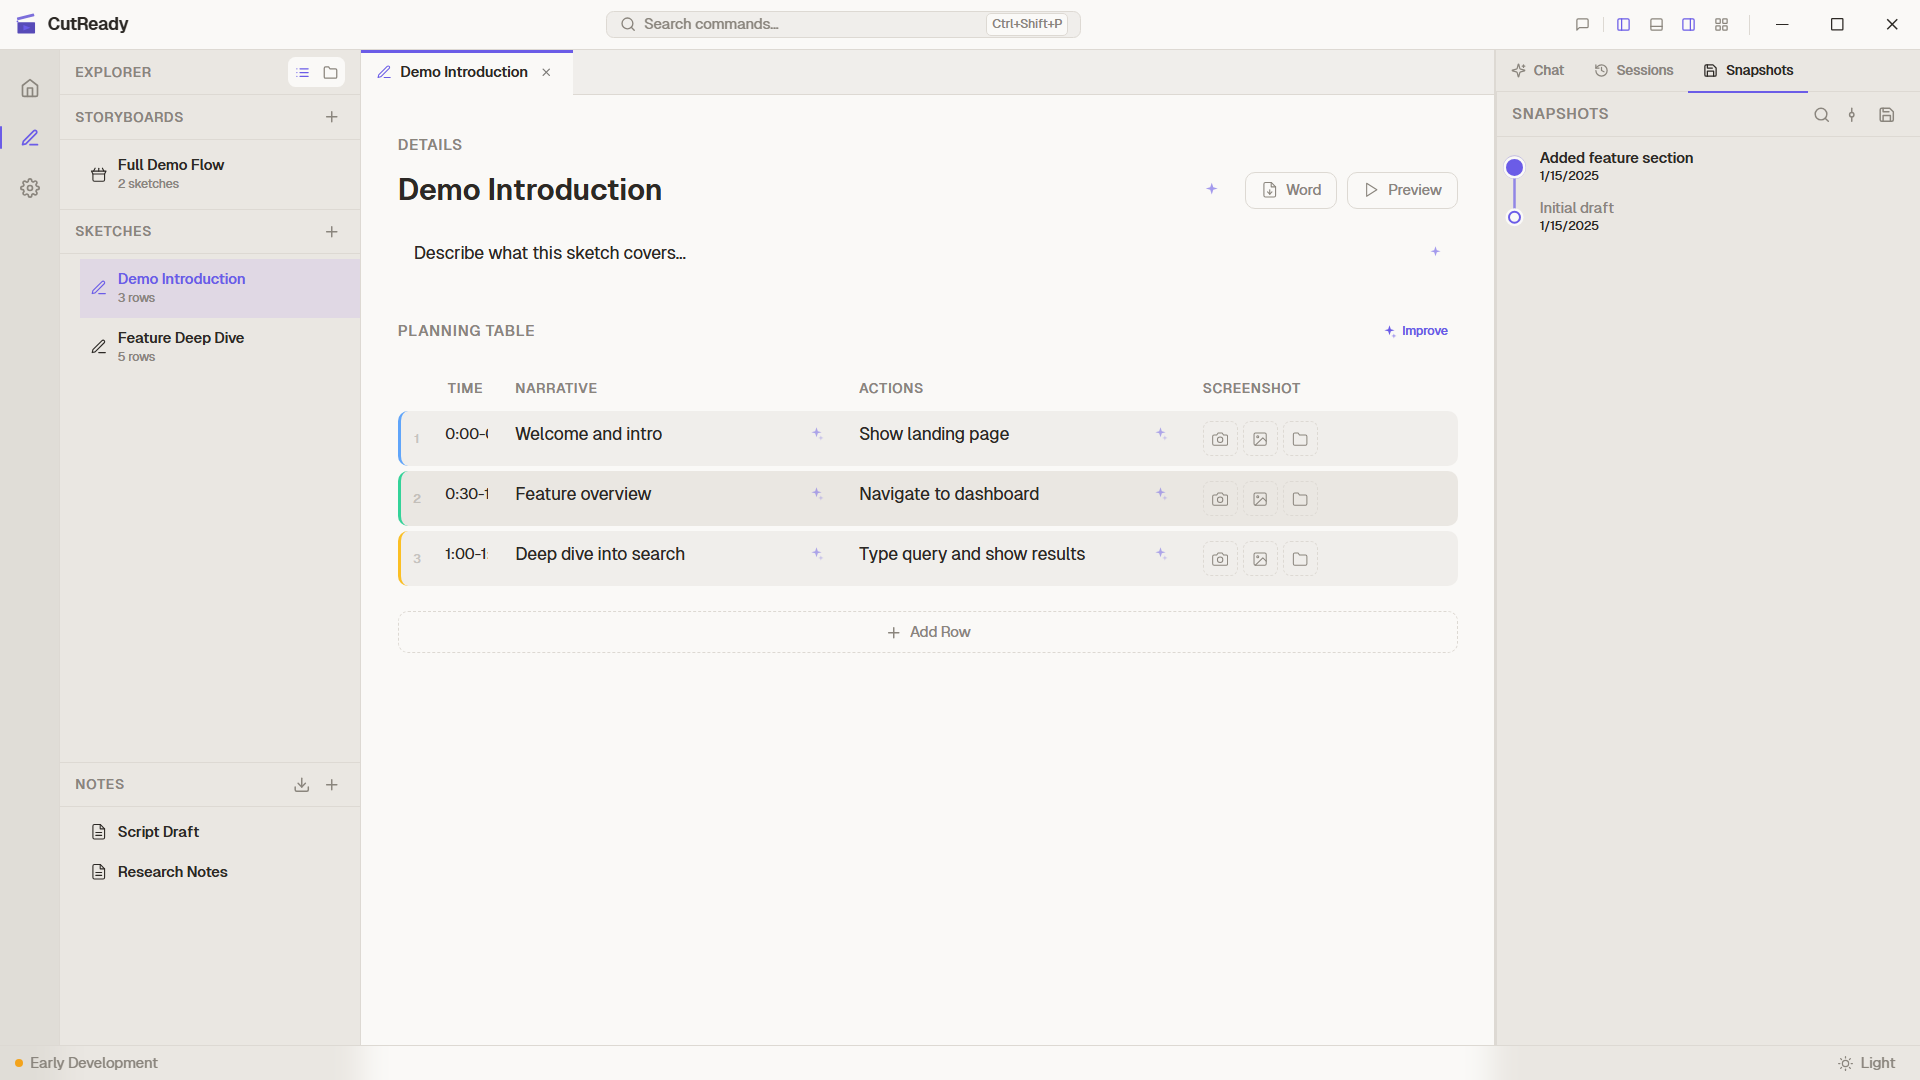
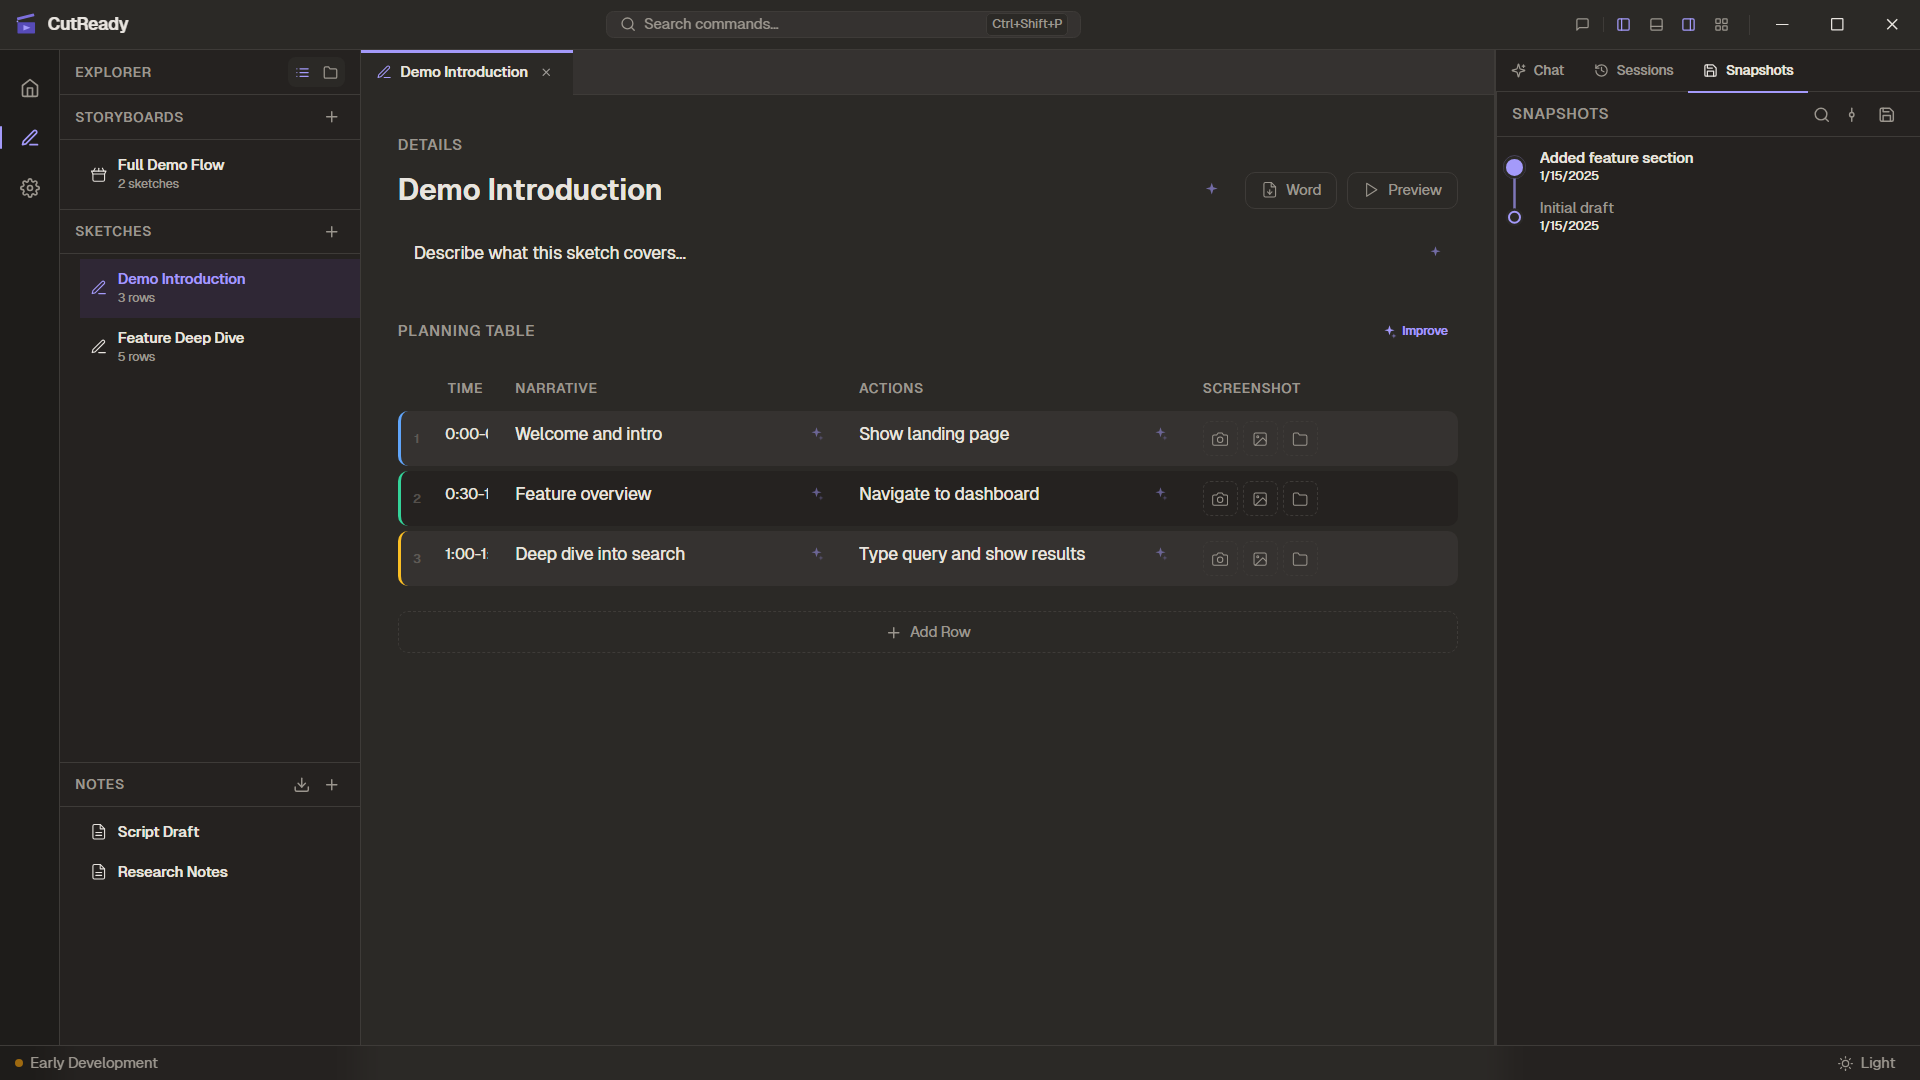
Snapshots
Section titled “Snapshots”A snapshot is a saved version of your entire project — all sketches, storyboards, and notes. Think of it as a checkpoint you can always return to.
Saving a Snapshot
Section titled “Saving a Snapshot”- Press Ctrl+S to open the snapshot naming prompt
- Press Ctrl+Shift+S to open the same prompt from the command palette shortcut
- Click the Save button in the Snapshots panel header
The prompt starts with an auto-generated name, but you can edit it before saving. Each save records the exact state of every project document and asset.
Navigating History
Section titled “Navigating History”The History section shows a graph of your saved versions:
- Filled dots represent saved snapshots
- The topmost node is your current position (HEAD)
- Click any node to preview that version’s files
- The dirty indicator shows when you have unsaved changes — click it to see which files changed and how many lines were added or removed
Restoring a Version
Section titled “Restoring a Version”Click any snapshot in the graph, then:
- Restore — Replace your current project state with that version
- Fork — Create a new timeline branching from that point
Squashing Local Snapshots
Section titled “Squashing Local Snapshots”Use Squash recent snapshots when you have several local checkpoint saves that should become one cleaner snapshot before sharing.
- Click the squash button in the Snapshots panel header.
- Select a contiguous range ending at the current HEAD snapshot.
- Enter the replacement snapshot name.
- Confirm the squash.
Squashing rewrites only the selected local snapshots and leaves unsaved workspace changes untouched. Do this before publishing or syncing those snapshots to a remote.
Persistence Scenarios
Section titled “Persistence Scenarios”CutReady uses Draftline as the only persistence layer for versioned project
content. The underlying storage is a .git/ repository, but app features talk
to Draftline APIs rather than running git operations directly.
| Scenario | What CutReady does |
|---|---|
| Edit a sketch, storyboard, or note | Marks the file as an unsaved content change. Pressing Ctrl+S creates a Draftline snapshot. |
| Capture or paste a screenshot | Stores the image under .cutready/screenshots/ and includes it in snapshots with the sketch or note that references it. |
| Generate a Designer visual | Stores the Elucim DSL JSON under .cutready/visuals/ and includes it in snapshots. |
| Reorder Explorer files or change open tabs | Stores local UI state under .git/cutready/ so it persists without dirtying content snapshots. |
| Run chat or agent workflows | Stores runtime state locally; accepted outputs become versioned only when written to sketches, storyboards, notes, screenshots, or visuals. |
| Record screen/camera/audio takes | Stores large take assets under .cutready/recordings/, which is local-only and excluded from snapshots. |
| Switch projects inside a workspace | Changes the active project view without saving, discarding, or abandoning dirty Draftline workspace changes. |
| Sync with GitHub | Publishes or pulls Draftline snapshots and timelines through the configured remote; users do not run git commands. |
Timelines (Branching)
Section titled “Timelines (Branching)”Timelines let you explore different directions without losing your original work. When you fork from a past snapshot, CutReady creates a new timeline.
Creating a Timeline
Section titled “Creating a Timeline”- Navigate to any past snapshot in the graph
- Make a change and save — CutReady asks if you want to create a new timeline
- Give it a name (e.g., “Experiment”, “Client feedback version”)
- Your new timeline branches from that point
Switching Timelines
Section titled “Switching Timelines”The timeline selector in the Snapshots panel header shows your active timeline. Click it to see all available timelines and switch between them.
Each timeline in the dropdown shows:
- Timeline name and snapshot count
- Merge — Combine this timeline into the active one
- Promote — Make this timeline the new Main
- ✕ — Delete the timeline
Promoting a Timeline
Section titled “Promoting a Timeline”If you’ve been working on a fork and want to make it your primary direction, use Promote. This swaps the branch pointers so your fork becomes Main and the old Main becomes a named timeline.
The History Graph
Section titled “The History Graph”For a bird’s-eye view of all timelines and how they relate, open the History Graph — a Draftline workspace graph visualization.
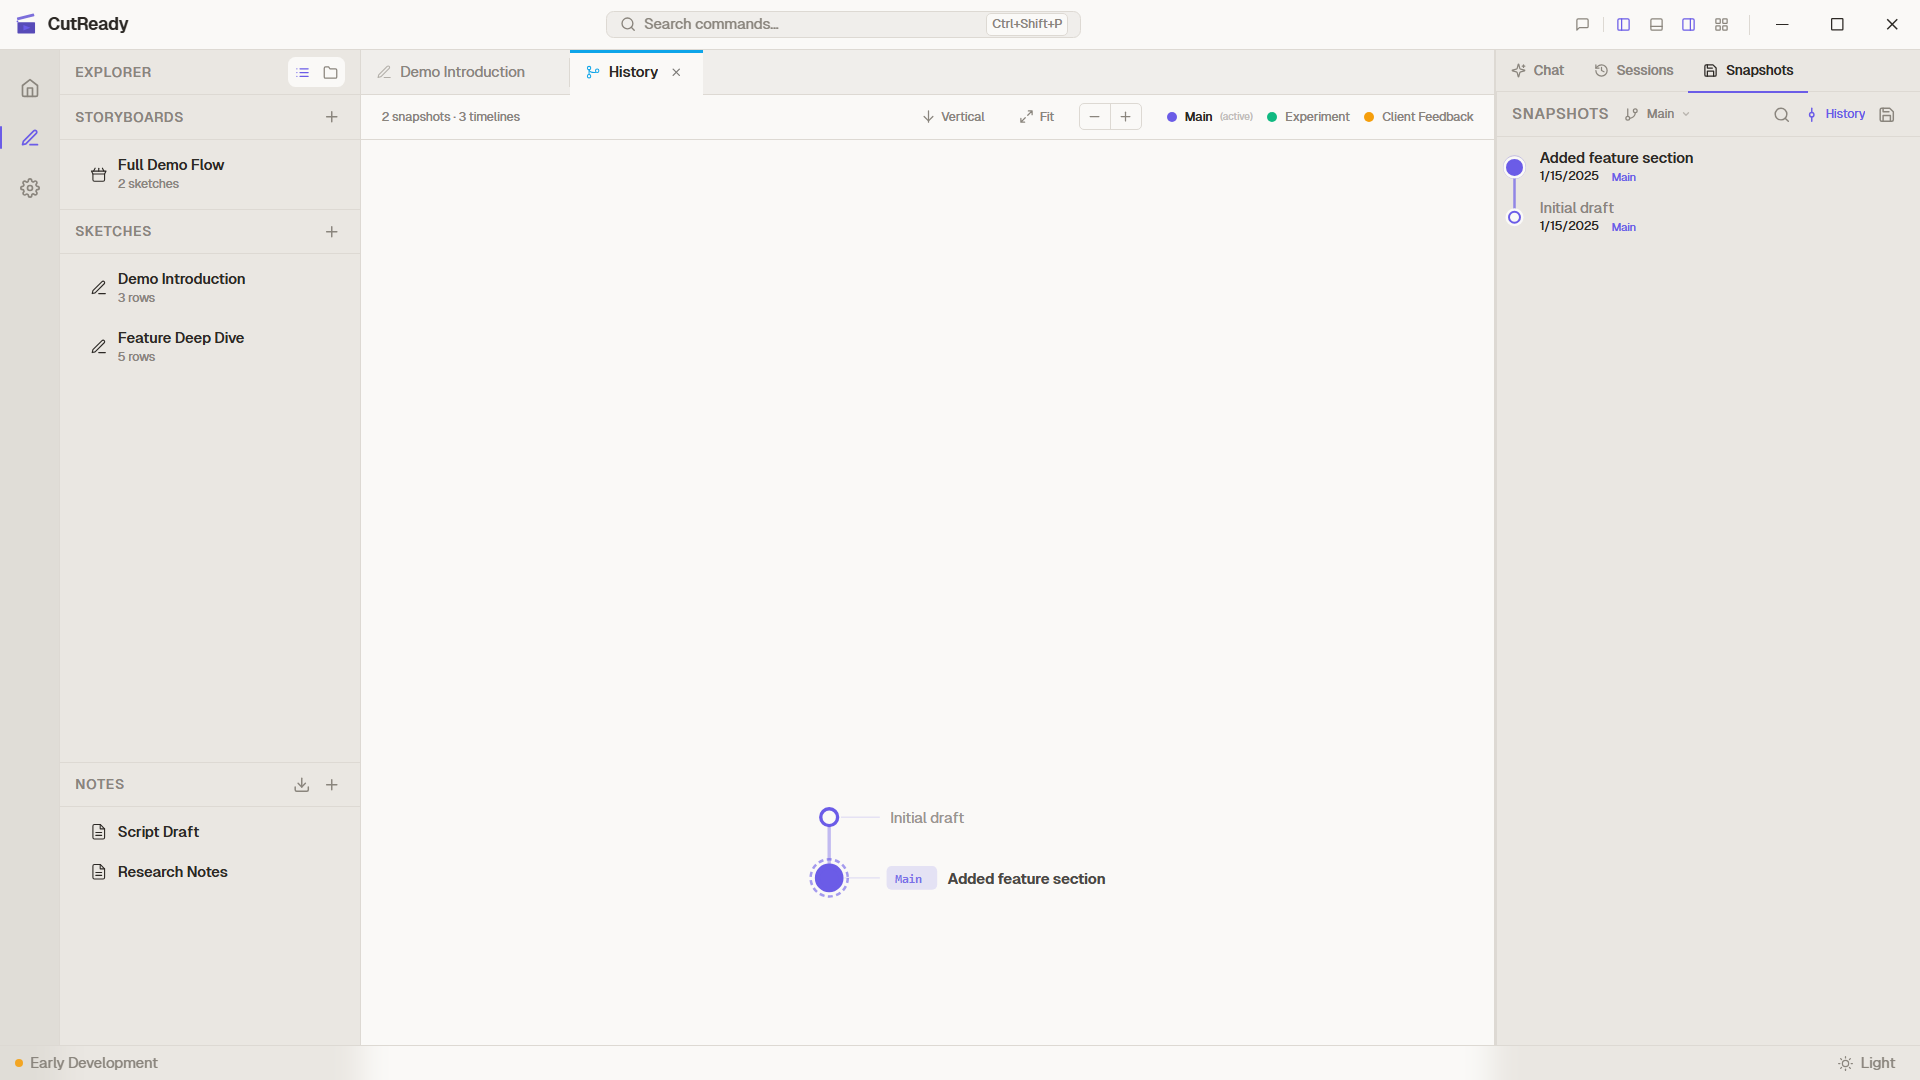
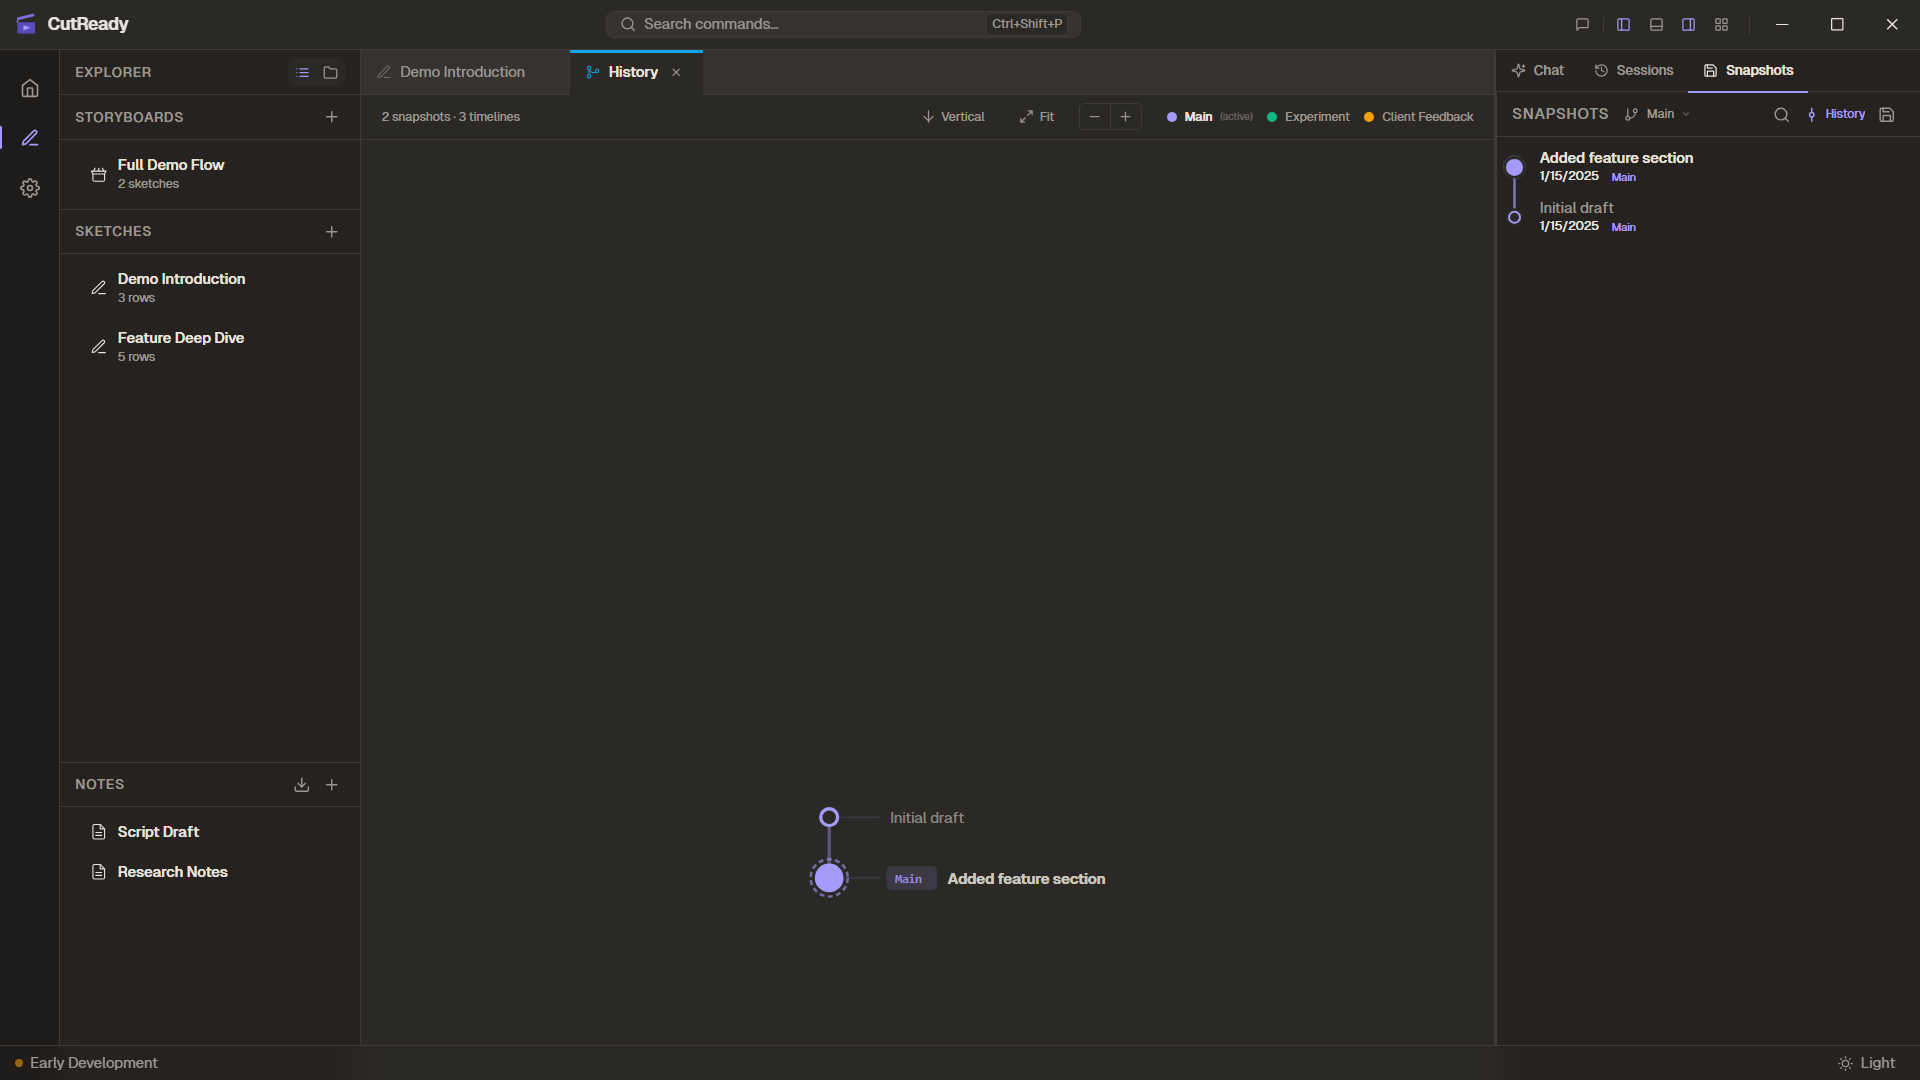
Click History in the Snapshots panel header to open it as a dedicated tab. The graph shows:
- Colored lanes for each timeline
- Fork points where timelines diverge
- Merge snapshots where timelines were combined
- Branch labels at each timeline’s tip
- Ancestry indicators showing where a timeline originated
See History Graph for details.
Technical Details
Section titled “Technical Details”- Snapshots are Draftline-managed versions in the workspace’s
.git/repository - Each snapshot captures versioned content:
.sk,.sb,.md, supported image assets,.cutready/screenshots/, and.cutready/visuals/ - Runtime paths such as
.chats,.cutready/recordings/,.cutready/agent-state.db,.cutready/memory.json, and.cutready/locks.jsonare excluded by policy - The graph is computed with Draftline workspace graph helpers
- Users do not need to run git commands — saves, branches, merges, and sync are built into the app
- Editor state, open tabs, chat session selection, and sidebar order are stored
separately under
.git/cutready/so they do not create document snapshots