Quick Start
This guide walks you through creating your first CutReady workspace and getting to a useful demo plan. The fastest path is: create a workspace, add a sketch, organize it in a storyboard, refine with AI, then save a named snapshot.
Open a Workspace
Section titled “Open a Workspace”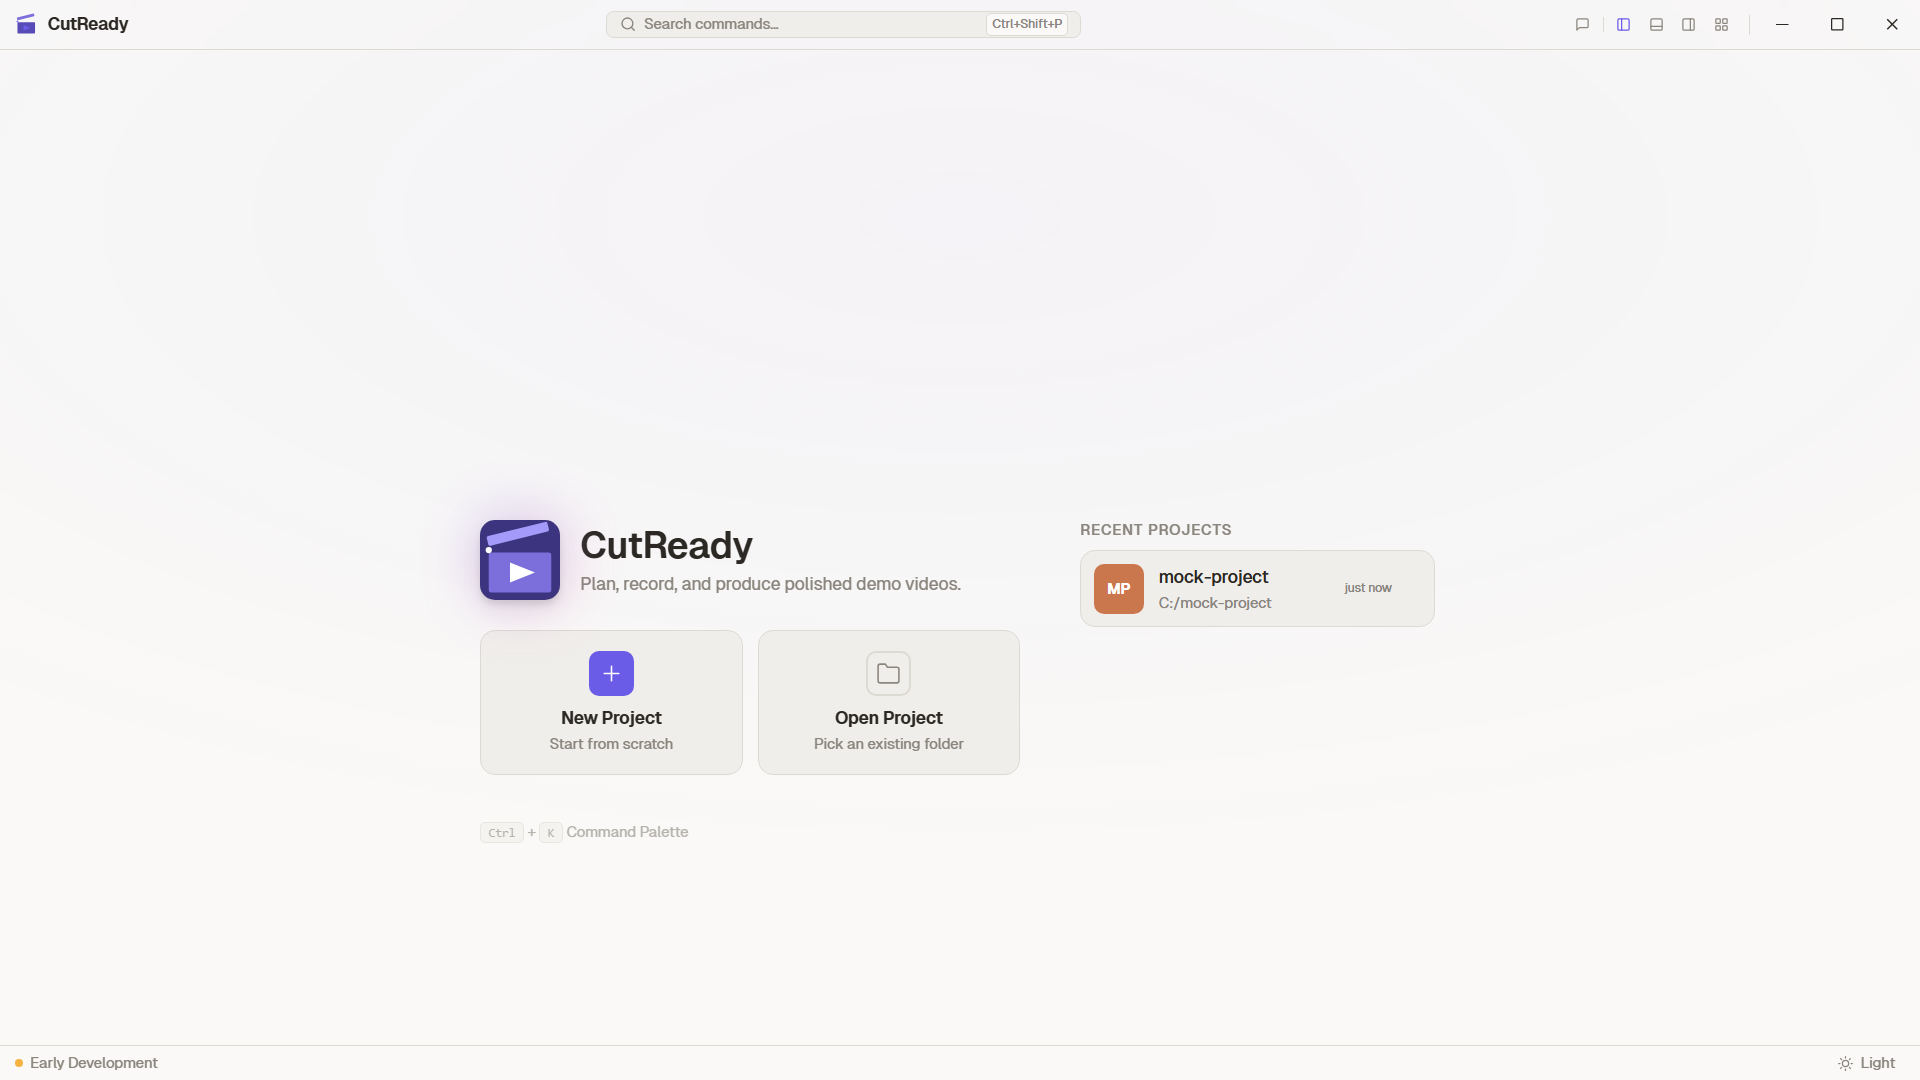
-
Launch CutReady — Start from the Home screen, then create or open a workspace.
-
Click “New Workspace” — Choose a folder on your filesystem. CutReady initializes it as a portable workspace with Draftline-backed version history.
-
Name your project — Give it a descriptive name like “Product Demo Q1”. Once opened, the workspace shell shows your document explorer, editor, chat, and local change state.
Create a Sketch
Section titled “Create a Sketch”Sketches are the planning backbone of your demo. Each sketch contains a structured table with your demo script.
-
Click the Project icon in the sidebar to switch to the project document list.
-
Click “New Sketch” in the storyboard list panel.
-
Fill in the planning table — Each row has four columns:
Column Purpose Time Approximate timing for this step Narrative What you’ll say during this step Demo Actions What happens on screen Screenshot Reference image (captured or uploaded) -
Add screenshots — Click the capture button (📸) in any screenshot cell to take a reference screenshot directly from your screen.
-
Save a version — Press
Ctrl+Sto open the snapshot naming prompt. CutReady uses Draftline-backed versioning, so you can always go back.
Build a Storyboard
Section titled “Build a Storyboard”-
Create a storyboard — Use the + menu in the project document list and choose Storyboard.
-
Add sketches — Add the sketch you just created, or create new sketches directly from the storyboard editor.
-
Organize the flow — Drag sketches into order, add sections, and collapse cards when you want to scan the structure.
-
Preview — Use the storyboard preview to review the full sequence.
Refine with AI
Section titled “Refine with AI”-
Configure a model — Open Settings → AI Provider, choose a provider, fetch models if supported, and select a chat-capable model.
-
Open Chat — Use the chat panel to ask the Planner, Writer, Editor, or Designer agent for help.
-
Use context — Mention sketches, notes, storyboards, or websites with
@references so the assistant knows what to read. For example, type@to autocomplete project files or paste@https://example.comto reference a web page. -
Review changes — AI edits are highlighted in the sketch editor and logged in the Activity panel.
Add Notes
Section titled “Add Notes”-
Switch to Notes — Click the Notes icon in the sidebar.
-
Click the + button in the storyboard list panel.
-
Select “Note” — A new markdown note opens in the editor.
-
Write your content — Use markdown formatting for headings, lists, code blocks, and more. Notes auto-save as you type.
Notes are great for capturing reference material, setup instructions, or narrative drafts before breaking them into planning table rows.
Import Documents
Section titled “Import Documents”-
Click the import button in the sidebar storyboard list panel.
-
Select a file — Supported formats:
.docx,.doc,.pdf,.pptx. -
Review the imported note — CutReady converts the document to markdown and adds it as a project note.
What’s Next?
Section titled “What’s Next?”- Sketch Editor — Deep dive into planning features
- Storyboards — Sequence sketches into a complete flow
- Version History — Understand the snapshot system
- AI Assistant — Chat with AI agents to refine your demos
- Browser Recording — Capture browser interactions
- Document Import — Import Word, PDF, and PowerPoint files
- Notes & Markdown — Markdown editor for project notes