Quick Start
This guide walks you through creating your first CutReady project.
Create a Project
Section titled “Create a Project”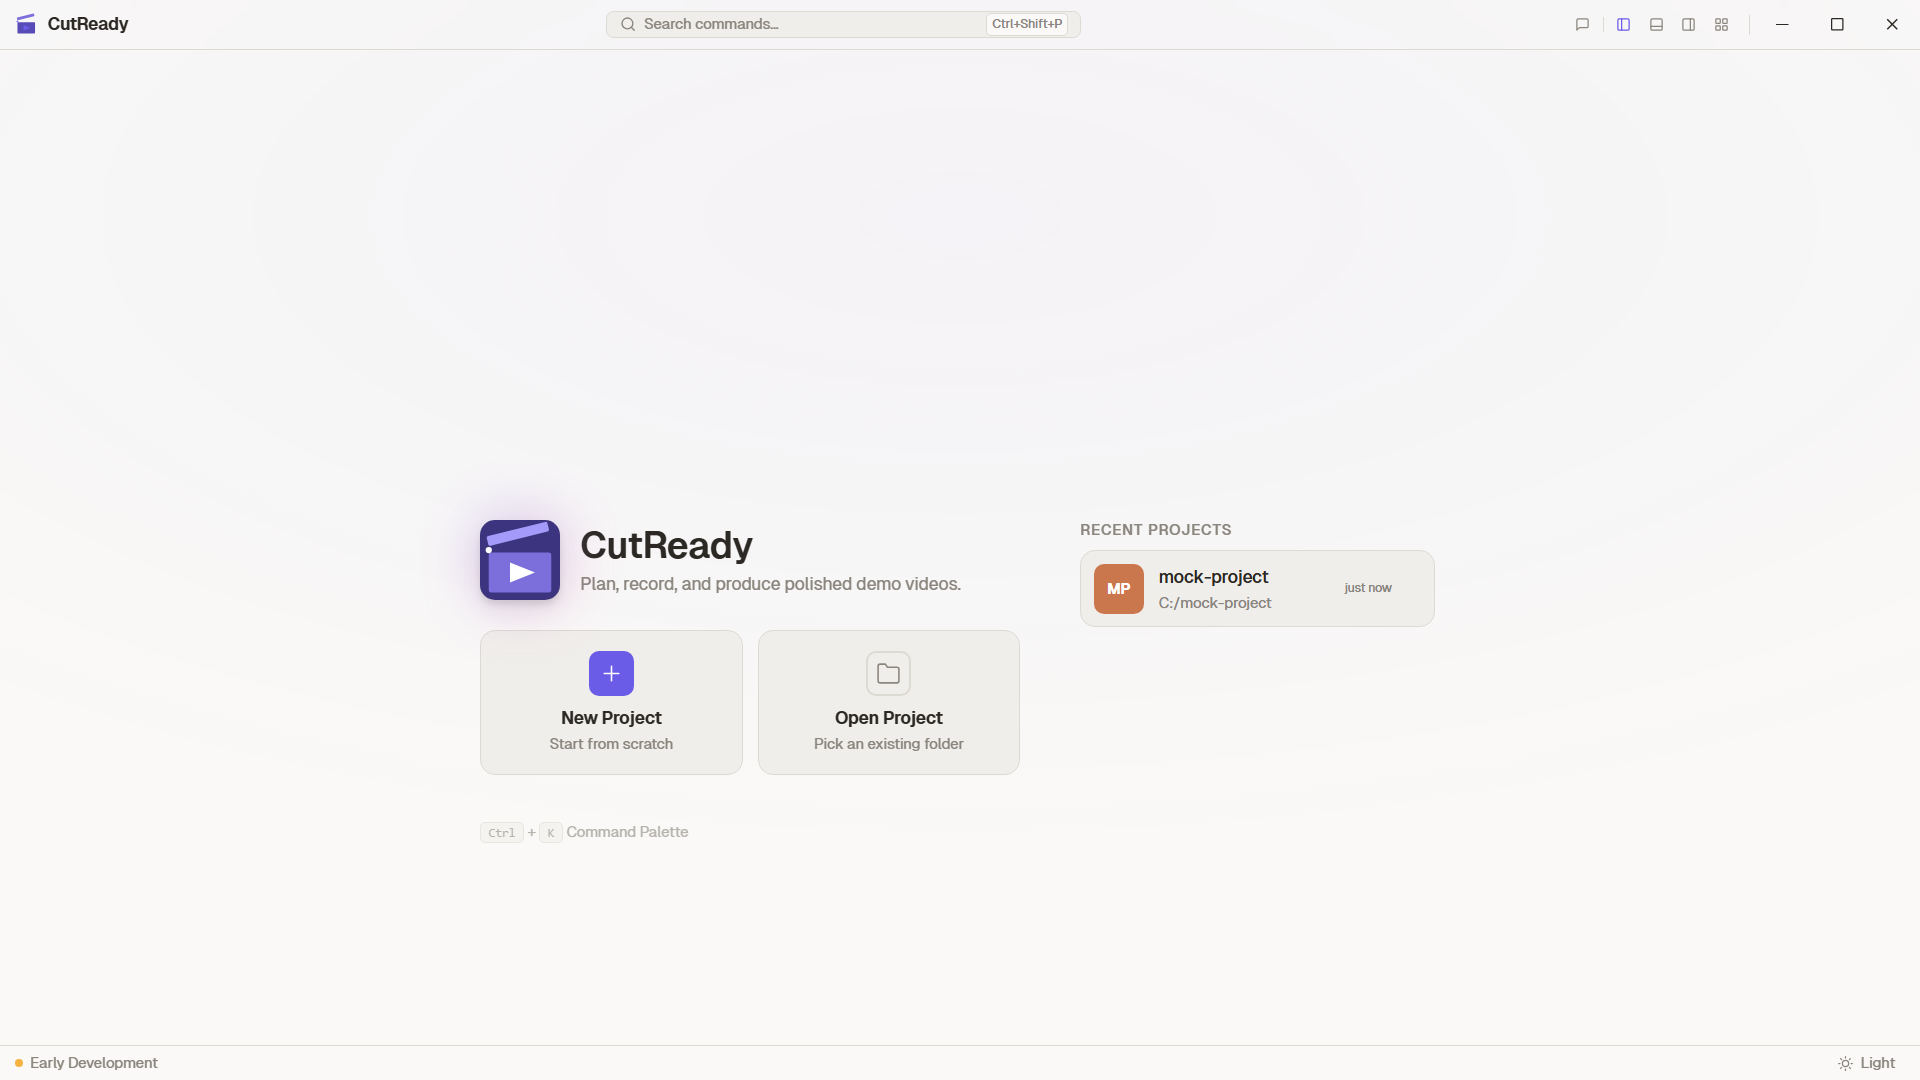
-
Launch CutReady — You’ll land on the Home screen shown above.
-
Click “New Project” — Choose a folder on your filesystem. CutReady creates a project structure inside it with directories for sketches, storyboards, notes, and recordings.
-
Name your project — Give it a descriptive name like “Product Demo Q1”.
Create a Sketch
Section titled “Create a Sketch”Sketches are the planning backbone of your demo. Each sketch contains a structured table with your demo script.
-
Click the Sketch icon (✏️) in the sidebar to switch to Sketch view.
-
Click “New Sketch” in the storyboard list panel.
-
Fill in the planning table — Each row has four columns:
Column Purpose Time Approximate timing for this step Narrative What you’ll say during this step Demo Actions What happens on screen Screenshot Reference image (captured or uploaded) -
Add screenshots — Click the capture button (📸) in any screenshot cell to take a reference screenshot directly from your screen.
-
Save a version — Press
Ctrl+Sto create a snapshot. CutReady uses git-based versioning, so you can always go back.
Record a Demo
Section titled “Record a Demo”-
Switch to Record view — Click the Record icon (🔴) in the sidebar.
-
Select a browser profile — CutReady auto-detects Chrome and Edge profiles. Pick the one with your demo environment already set up.
-
Start recording — CutReady launches the browser and captures every click, keystroke, navigation, and scroll.
-
Perform your demo — Walk through the steps from your sketch.
-
Stop recording — Click the stop button. Your captured actions appear as cards in the recording panel.
Add Notes
Section titled “Add Notes”-
Switch to Sketch view — Click the Sketch icon (✏️) in the sidebar.
-
Click the + button in the storyboard list panel.
-
Select “Note” — A new markdown note opens in the editor.
-
Write your content — Use markdown formatting for headings, lists, code blocks, and more. Notes auto-save as you type.
Notes are great for capturing reference material, setup instructions, or narrative drafts before breaking them into planning table rows.
Import Documents
Section titled “Import Documents”-
Click the import button in the sidebar storyboard list panel.
-
Select a file — Supported formats:
.docx,.doc,.pdf,.pptx. -
Review the imported note — CutReady converts the document to markdown and adds it as a project note.
What’s Next?
Section titled “What’s Next?”- Sketch Editor — Deep dive into planning features
- Browser Recording — Learn about recording modes
- Version History — Understand the snapshot system
- AI Assistant — Chat with AI agents to refine your demos
- Document Import — Import Word, PDF, and PowerPoint files
- Notes & Markdown — Markdown editor for project notes