AI-Assisted Workflow
The AI assistant integrates into every stage of sketch planning. This guide walks through the complete workflow for using AI to build and refine your demo content.
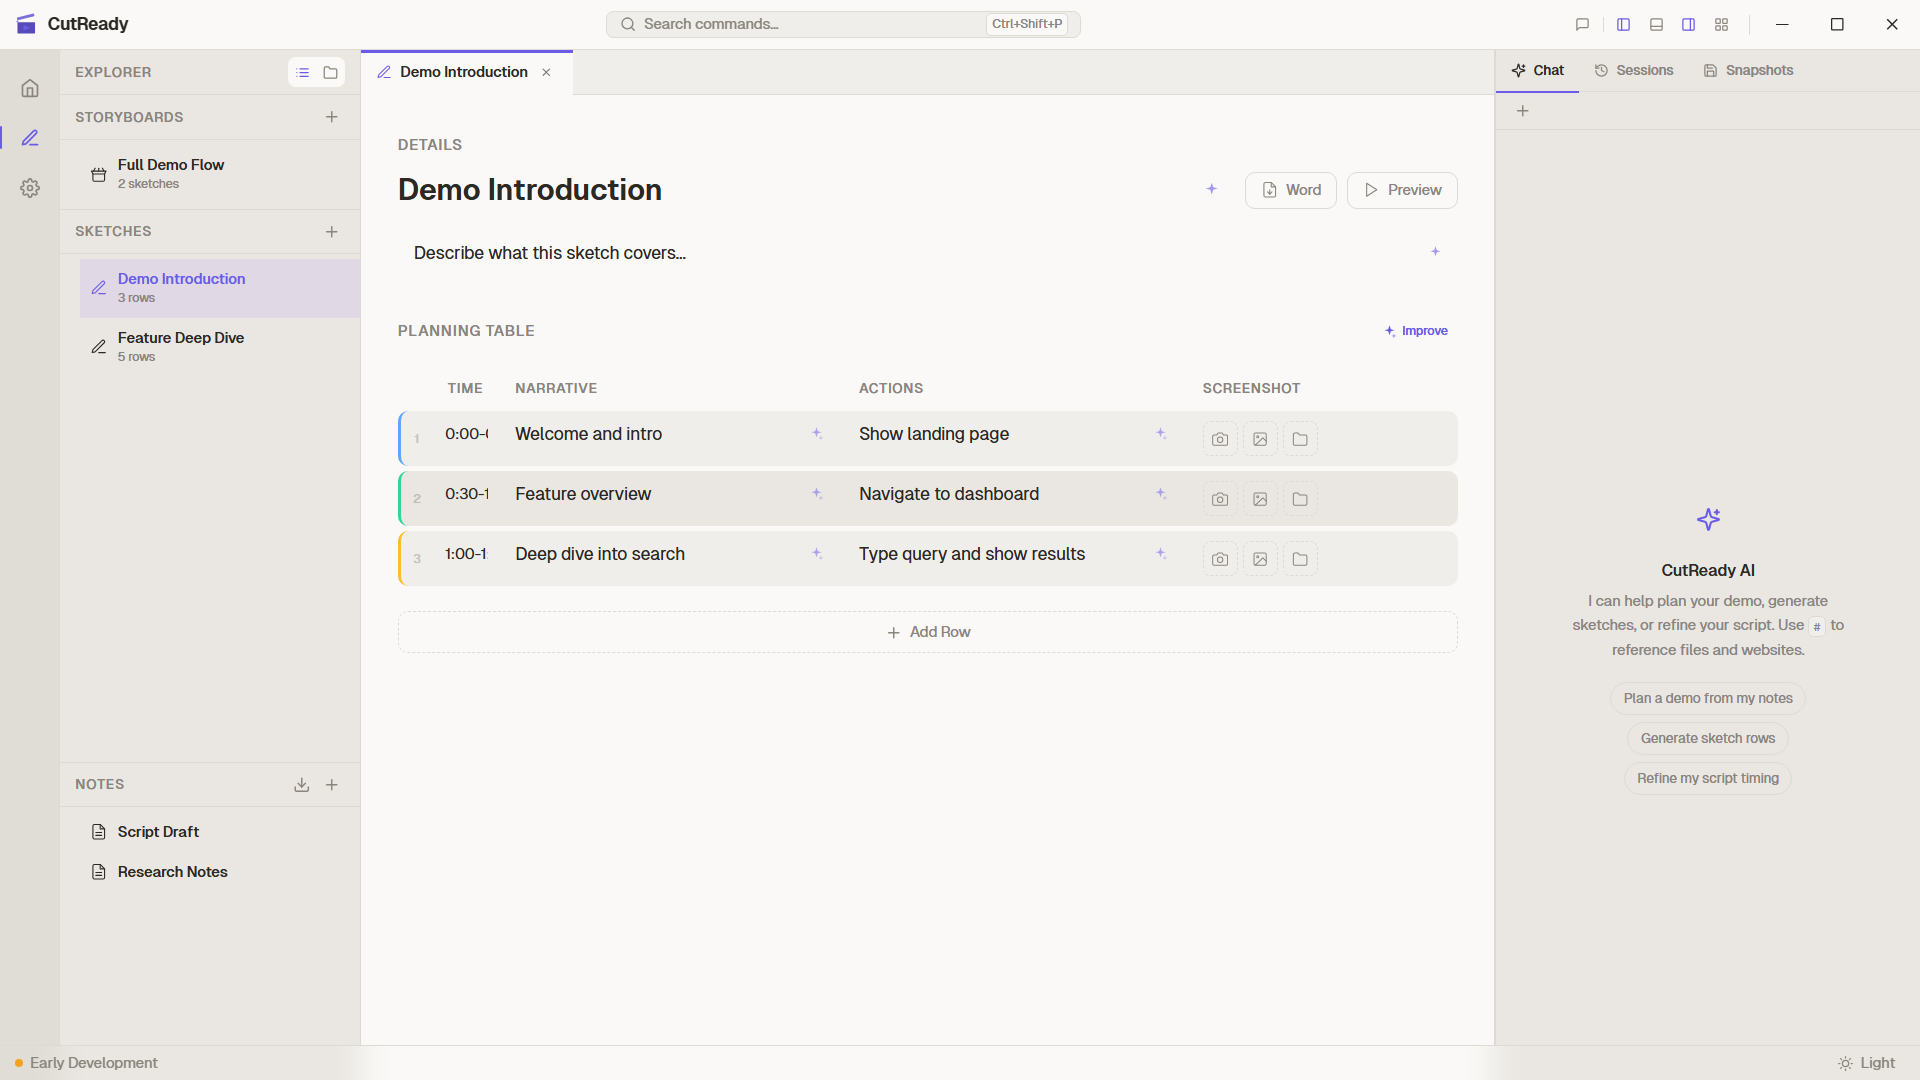
Starting a Conversation
Section titled “Starting a Conversation”-
Open a sketch — Navigate to an existing sketch or create a new one.
-
Open the chat panel — The AI assistant panel appears alongside the editor.
-
Describe your demo — Tell the assistant what your demo should cover. Be specific about the product, audience, and key features.
The AI reads your sketch context (title, description, existing rows) and responds with relevant suggestions.
Generating Planning Rows
Section titled “Generating Planning Rows”Ask the AI to generate a complete demo plan:
“Create a planning table for a 3-minute demo of our dashboard’s analytics features. Focus on the chart builder and export tools.”
The AI uses the set_planning_rows tool to populate the planning table with
time estimates, narrative text, and demo action descriptions. Review the
generated rows and iterate:
“Make the intro shorter and add a step showing the filter panel.”
The AI uses update_planning_row to make targeted adjustments without
rewriting the entire table.
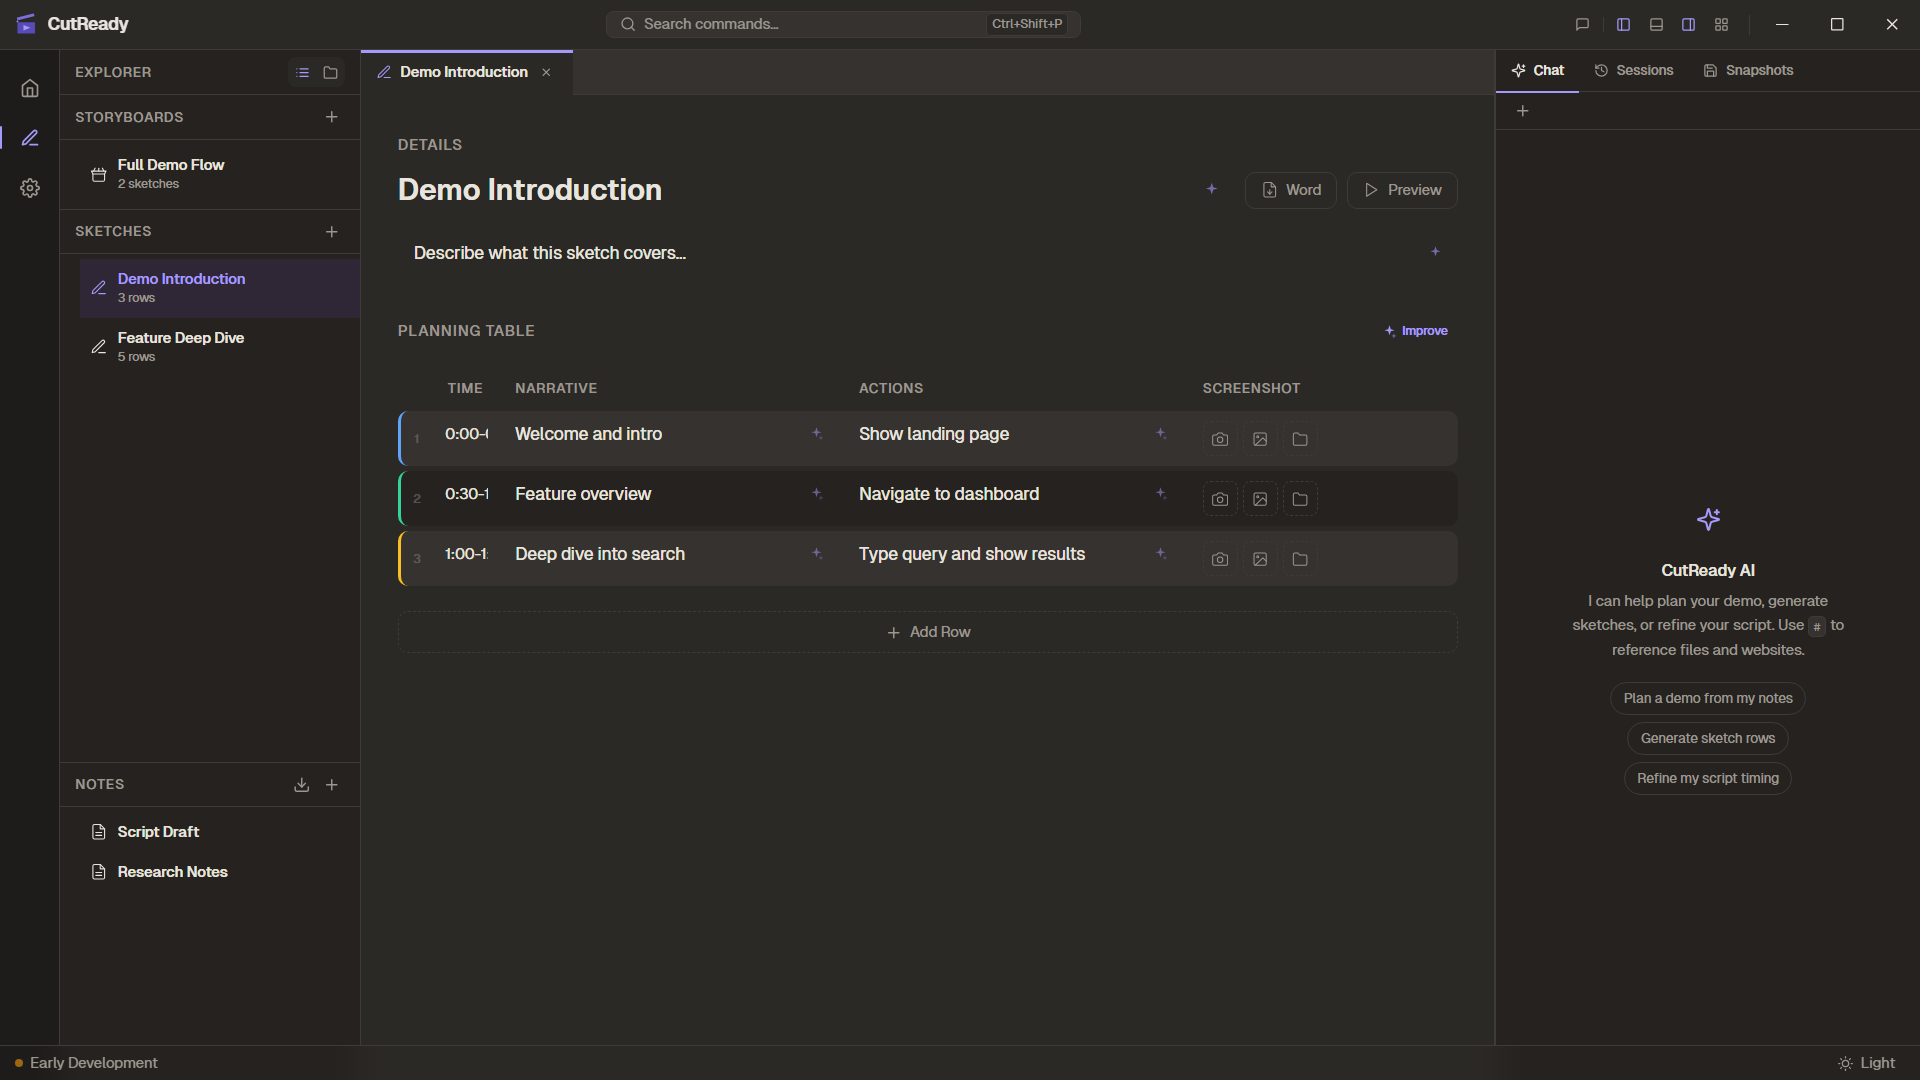
Using Sparkle Buttons
Section titled “Using Sparkle Buttons”For quick improvements without typing a prompt:
- Click ✨ on the planning table to generate rows (if empty) or improve existing rows (if populated)
- Click ✨ on individual cells to refine narrative or action text
- Click ✨ on the title or description for a quick rewrite
Sparkle actions are logged in the Activity Panel rather than cluttering the chat history.
Reviewing AI Changes
Section titled “Reviewing AI Changes”After the AI makes changes, verify them using:
- The editor — Changes appear immediately in the sketch form
- Activity Panel — Shows a log of every tool call with parameters
- Version history — Save a snapshot before and after AI edits so you can compare or roll back
Incorporating Reference Materials
Section titled “Incorporating Reference Materials”If you have existing documents (slide decks, scripts, meeting notes), import them first, then reference them in the conversation:
-
Import the document — Use the Import button to bring in a
.docx,.pdf, or.pptxfile as a project note. -
Reference it in chat — Type
#to autocomplete the note name, or ask the AI directly: “Read the imported slide deck and use it to build planning rows.” -
The AI reads the note — Using the
read_notetool, it processes the imported content and incorporates it into your sketch.
Choosing the Right Agent
Section titled “Choosing the Right Agent”Select the agent that matches your current task:
| Agent | When to use |
|---|---|
| Planner | Starting from scratch, building structure, organizing flow |
| Writer | Polishing narrative text, making scripts engaging and natural |
| Editor | Fixing specific cells, making precise surgical changes |
Switch agents mid-conversation using the agent selector. Each agent maintains the conversation context, so you don’t lose history when switching.
Typical Workflow
Section titled “Typical Workflow”A common end-to-end pattern:
-
Sketch basics — Set the title, description, and a few rough rows manually.
-
Ask the Planner — “Flesh out this plan with timing and actions.”
-
Sparkle the narrative — Click ✨ on narrative cells to polish voiceover text.
-
Switch to Writer — “Make the narration more conversational and engaging.”
-
Save a version — Press
Ctrl+Sto snapshot the AI-improved sketch. -
Review in Activity Panel — Scan the log to confirm all changes look right.